Aldi Thin Crust Pizza Instructions: A Comprehensive Guide
Aldi offers convenient frozen pizzas, alongside their popular take-and-bake options, providing easy weeknight meals for busy individuals and families seeking affordability.
Understanding Aldi’s Thin Crust Pizza Options
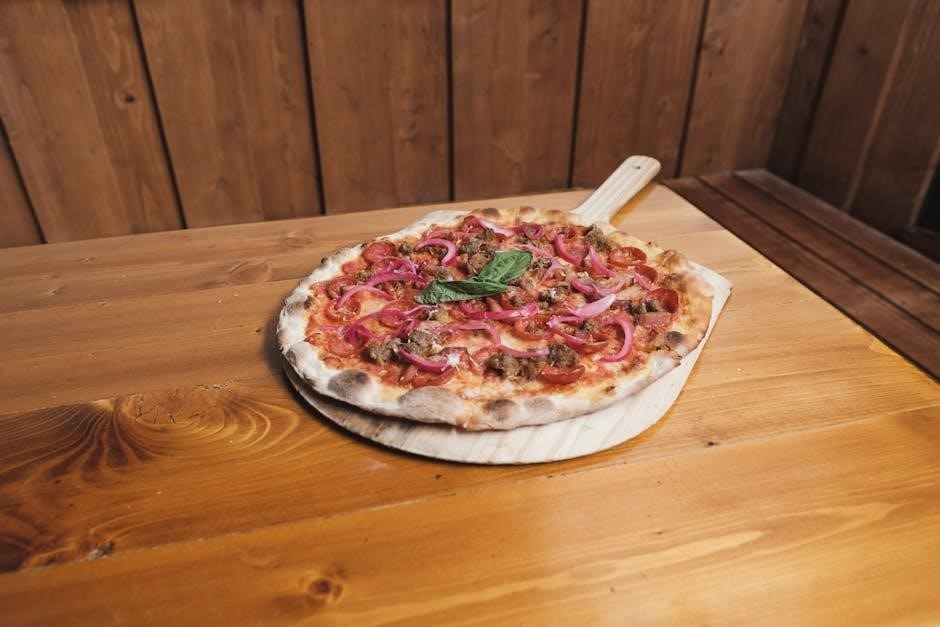
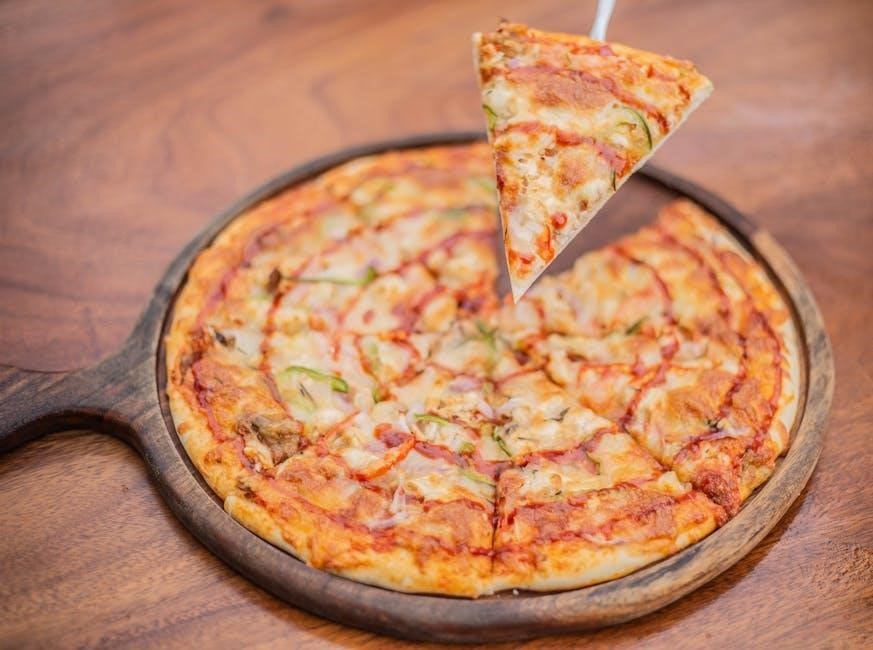
Aldi’s thin crust pizzas represent a fantastic value, offering a quick and easy meal solution without compromising on taste. These pizzas are designed for convenience, appealing to shoppers seeking affordable options for weeknight dinners or casual gatherings. The selection typically includes a variety of flavors, catering to diverse preferences.
Understanding that Aldi focuses on streamlined product offerings, you’ll find a curated selection rather than an overwhelming array of choices. This approach allows them to maintain competitive pricing. The pizzas are generally found in the frozen food aisle, readily available for purchase. It’s worth noting that Aldi, like Lidl, prioritizes cost-effectiveness, meaning the focus is on delivering quality at a lower price point compared to some other grocery chains.
These pizzas are a popular choice, evidenced by customer discussions regarding in-store experiences and even security incidents involving suspected shoplifters, highlighting their demand.
Popular Varieties Available
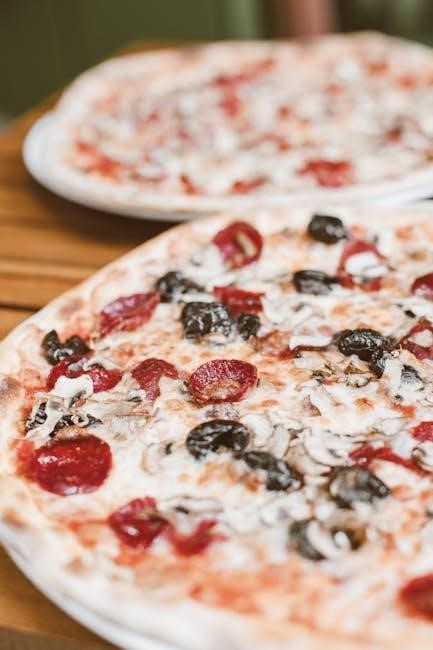
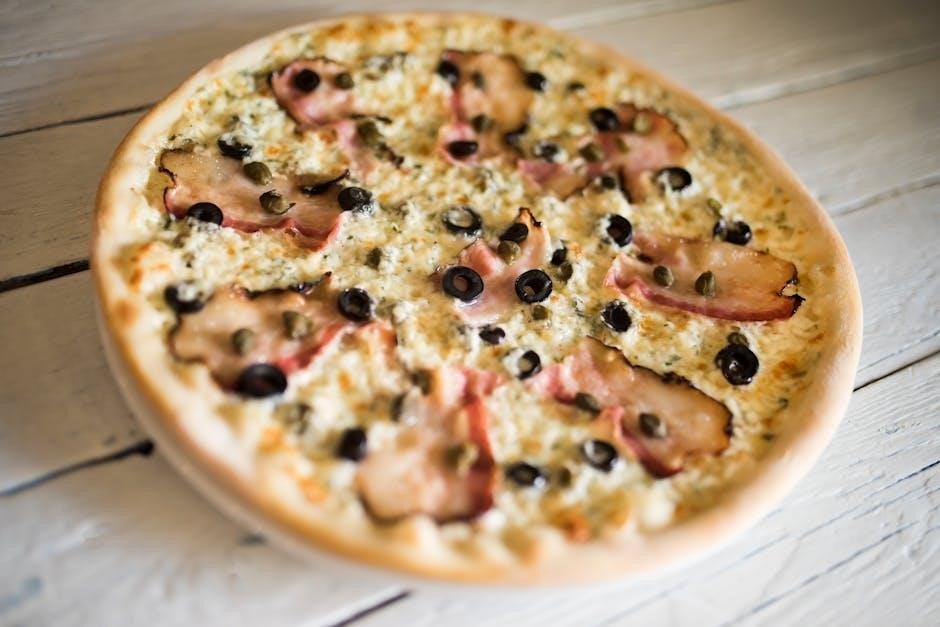
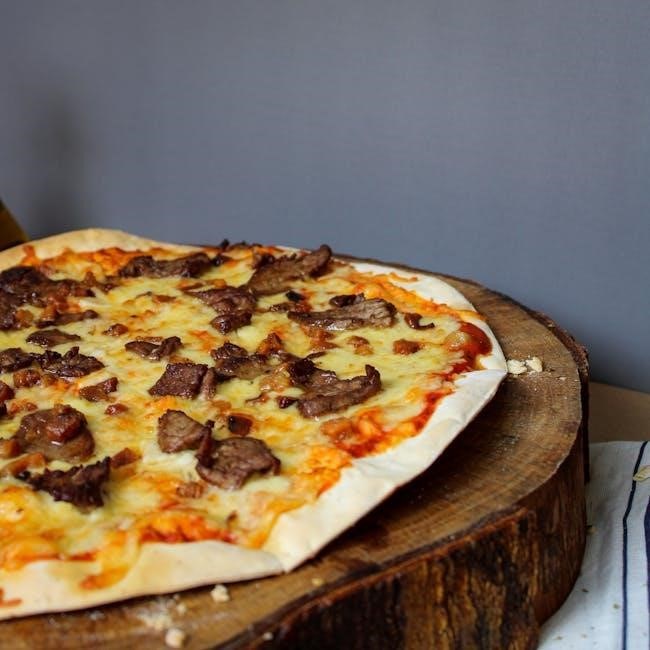
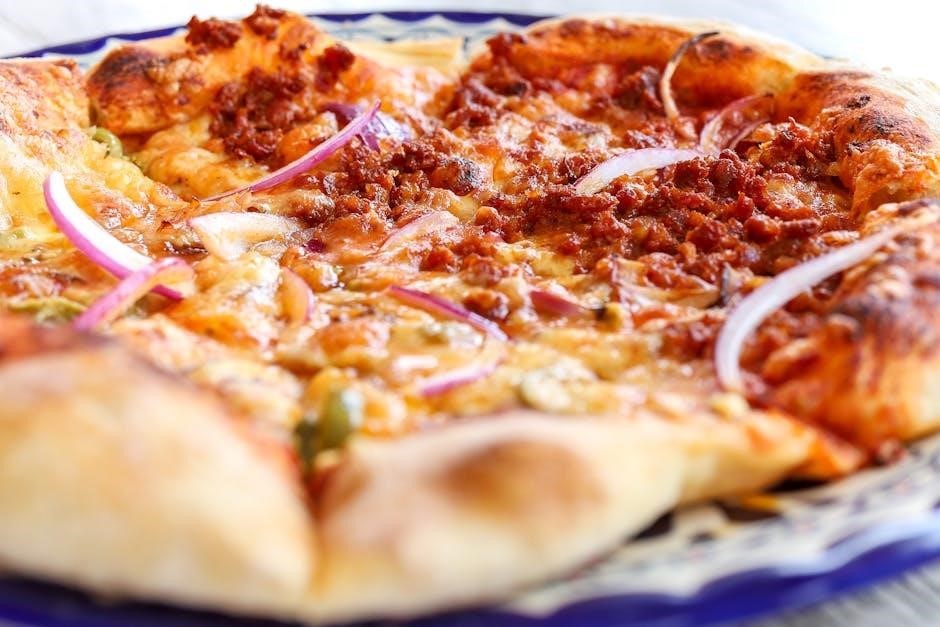
Aldi’s thin crust pizza range frequently features classic options like pepperoni, a perennial favorite among pizza lovers. Beyond the basics, you can often find varieties such as Margherita, offering a simple yet satisfying combination of tomato sauce, mozzarella, and basil. Specialty pizzas, including those with supreme toppings or meat lovers’ blends, also make regular appearances.
While specific availability varies by location and season, Aldi consistently provides a selection to suit different tastes. The grocery chain’s strategy of offering a limited but popular range ensures that frequently requested flavors are generally in stock. Customers appreciate the convenience and affordability of these options, contributing to their consistent demand.
It’s worth checking the frozen food aisle regularly, as new or limited-edition varieties sometimes appear, adding excitement to the usual offerings. These pizzas are a staple for many households seeking quick and easy meal solutions.
Checking the Packaging for Specific Instructions
Always prioritize reading the packaging on your Aldi thin crust pizza. While general guidelines exist, each variety may have unique cooking recommendations for optimal results. Pay close attention to the suggested oven temperature, baking time, and any specific instructions regarding preheating or the use of a pizza stone or baking sheet.
The packaging will also detail the pizza’s weight and ingredient list, useful for dietary considerations. Some pizzas might benefit from a brief thawing period before cooking, while others are designed to be cooked directly from frozen. Ignoring these details can lead to an undercooked or overcooked pizza.
Furthermore, the packaging often includes helpful tips for achieving a crispier crust or enhancing the flavor. Following these instructions ensures you enjoy the best possible pizza experience from Aldi.
Cooking Methods for Aldi Thin Crust Pizza
Aldi’s thin crust pizzas offer versatile cooking options, including standard oven baking, quicker air frying, and a crispy, yet cautious, broiling method for convenience.
Oven Baking: The Standard Approach
Oven baking remains the most traditional and widely recommended method for cooking Aldi’s thin crust pizza, ensuring a consistently cooked and satisfying result. This approach allows for even heat distribution, crucial for achieving a perfectly crisp crust and melted toppings. For optimal results, preheating your oven is paramount; it guarantees the pizza begins cooking immediately upon entry, preventing a soggy base.
Consider utilizing either a pizza stone or a standard baking sheet. A pizza stone, when preheated, provides superior heat retention and mimics a professional pizza oven’s environment, resulting in a remarkably crispy crust. Alternatively, a baking sheet offers convenience and is perfectly suitable for achieving a delicious pizza. Regardless of your choice, lightly greasing the surface prevents sticking and facilitates easy removal post-baking.
Recommended Oven Temperature
For achieving the best results with your Aldi thin crust pizza using the oven baking method, a temperature of 400°F (204°C) is generally recommended. This temperature strikes a balance between ensuring the crust cooks through completely and preventing the toppings from burning prematurely. While some variations may exist depending on the specific pizza variety, 400°F serves as a reliable starting point for most Aldi thin crust options.
Preheating your oven to this temperature is absolutely crucial. Allow sufficient time – typically around 15-20 minutes – for the oven to reach and stabilize at 400°F before placing the pizza inside. A properly preheated oven guarantees even cooking and a delightfully crispy crust. Always refer to the specific instructions on the pizza packaging, as they may occasionally suggest a slightly different temperature.
Optimal Baking Time
Determining the optimal baking time for your Aldi thin crust pizza is key to a perfectly cooked meal. Generally, a baking time of 12-15 minutes at 400°F (204°C) will yield excellent results. However, this is a guideline, and several factors can influence the precise time needed.
These factors include your oven’s calibration, the specific pizza variety, and your desired level of crispness. Begin checking the pizza around the 12-minute mark. Look for a golden-brown crust and bubbling cheese. If the crust isn’t quite crisp enough, continue baking for another minute or two, monitoring closely to prevent burning. Always prioritize checking the packaging for any specific time recommendations provided by Aldi for that particular pizza.
Using a Pizza Stone or Baking Sheet
For enhanced crispiness, consider utilizing a pizza stone or baking sheet when cooking your Aldi thin crust pizza. A pizza stone, preheated in the oven, provides a consistently hot surface that promotes even cooking and a delightfully crunchy crust. If using a stone, carefully slide the frozen pizza directly onto the hot surface.
Alternatively, a baking sheet works perfectly well. Lightly grease the sheet or line it with parchment paper to prevent sticking. Placing the pizza directly on the rack can also work, but may result in a slightly less crispy bottom. Regardless of your chosen method, ensure the pizza isn’t overcrowded on the surface for optimal heat circulation and even baking.
Air Fryer Cooking: A Faster Alternative
Seeking a quicker cooking method? The air fryer presents an excellent alternative for Aldi’s thin crust pizza. This appliance excels at delivering a crispy crust and thoroughly heated toppings in less time than conventional oven baking. However, air fryer sizes vary, so adjust accordingly.
Due to the compact nature of most air fryers, it might be necessary to cook the pizza in batches or trim it to fit. Proper air circulation is key; avoid overcrowding. The rapid air circulation ensures even cooking, but monitoring is still recommended. This method is ideal for smaller pizzas or individual portions, offering a convenient and speedy meal solution.
Air Fryer Temperature Settings
For optimal results with Aldi’s thin crust pizza in an air fryer, a temperature range of 350°F to 380°F (175°C to 195°C) is generally recommended. Starting at 350°F can help prevent burning, especially if your air fryer tends to run hot. However, increasing to 380°F can yield a crispier crust, but requires closer monitoring.
Experimentation may be needed based on your specific air fryer model. Some models have a dedicated “pizza” setting, which automatically adjusts the temperature and cooking time. Always refer to your air fryer’s manual for guidance. Preheating the air fryer for a few minutes before adding the pizza is also advisable for consistent cooking and a superior texture.
Air Fryer Cooking Duration
Typically, Aldi’s thin crust pizza requires approximately 6 to 10 minutes in the air fryer; However, cooking time can vary depending on your air fryer’s wattage, the specific pizza variety, and your desired level of crispness. It’s crucial to begin checking for doneness around the 6-minute mark.
For a softer crust, 6-8 minutes may suffice. If you prefer a significantly crispier base, extend the cooking time to 9-10 minutes. Regularly inspect the pizza, rotating it halfway through to ensure even cooking. Avoid overcrowding the air fryer basket; cook pizzas in batches if necessary to maintain optimal airflow and prevent steaming. Consistent monitoring is key to achieving perfectly cooked pizza.
Ensuring Even Cooking in an Air Fryer
Achieving uniform cooking in an air fryer is vital for Aldi’s thin crust pizza. Due to the concentrated heat, hotspots can develop, leading to uneven browning. Rotating the pizza halfway through the cooking process is paramount; this ensures all sections are exposed to the heating element.
Avoid overlapping or overcrowding the air fryer basket, as this restricts airflow and results in a soggy crust. If cooking multiple pizzas, leave space between them. Shaking the basket gently mid-way can also help distribute heat. Consider using parchment paper specifically designed for air fryers to prevent sticking and promote even heat distribution. Consistent observation and minor adjustments are key to a perfectly cooked pizza.
Broiling: For a Crispy Crust (With Caution)
Broiling offers a rapid method for achieving a delightfully crispy crust on your Aldi thin crust pizza, but demands vigilant attention. Position the oven rack approximately 6-8 inches from the broiler element; closer distances risk burning, while further distances may not deliver sufficient crispness.
Preheating the broiler is crucial for even cooking. Monitor the pizza constantly during broiling, as it can quickly go from golden brown to burnt. A typical broiling time ranges from 3-5 minutes, but varies based on your broiler’s strength. Rotate the pizza halfway through for uniform browning. Exercise extreme caution when using the broiler, and never leave it unattended.
Broiler Temperature and Distance
When broiling your Aldi thin crust pizza, maintaining the correct temperature and distance is paramount to prevent burning and ensure even cooking. Most broilers operate at a high, fixed temperature – typically around 500-550°F (260-288°C). Therefore, distance control is your primary adjustment tool.
Position the oven rack 6 to 8 inches from the broiler element. Closer proximity results in faster, more intense heat, increasing the risk of scorching the crust before the toppings are heated through. A greater distance provides gentler heat, but may require a longer broiling time. Always preheat your broiler for several minutes before placing the pizza inside for optimal results and consistent heat distribution.
Monitoring to Prevent Burning
Broiling Aldi’s thin crust pizza demands vigilant monitoring due to the intense heat. Unlike oven baking, broiling cooks food rapidly, making it prone to burning if left unattended. Stay close to the oven and check the pizza frequently – every 30 seconds to a minute – especially during the initial stages of cooking.
Look for visual cues indicating doneness: the cheese should be melted and bubbly, with slight browning in spots, and the crust should be golden brown and crispy. If the crust begins to darken too quickly, immediately lower the oven rack or briefly turn off the broiler to reduce the heat intensity. Remember, prevention is key; a slightly undercooked pizza is easier to fix than a burnt one!

Preparing the Pizza for Cooking
Begin by removing the pizza from its packaging and consider adding extra toppings to personalize your Aldi thin crust pizza experience.
Removing the Pizza from the Packaging
Carefully take the Aldi thin crust pizza out of its box, noting any plastic wrapping or cardboard supports that need removal. Often, these pizzas are individually wrapped in plastic to maintain freshness during transport and storage. Gently peel back the plastic, being mindful not to damage the crust or dislodge any toppings. Some varieties might have a small cardboard circle underneath – lift the pizza straight up to remove it.
Inspect the pizza for any signs of damage during shipping, such as a torn crust or displaced toppings. If the pizza appears significantly damaged, it’s best to avoid cooking it. Place the unwrapped pizza on a clean, flat surface, like a baking sheet or pizza stone, preparing it for the next step – adding any desired extra toppings or preheating your chosen cooking appliance. Ensure your hands are clean before handling the pizza to maintain food safety.
Adding Extra Toppings (Optional)
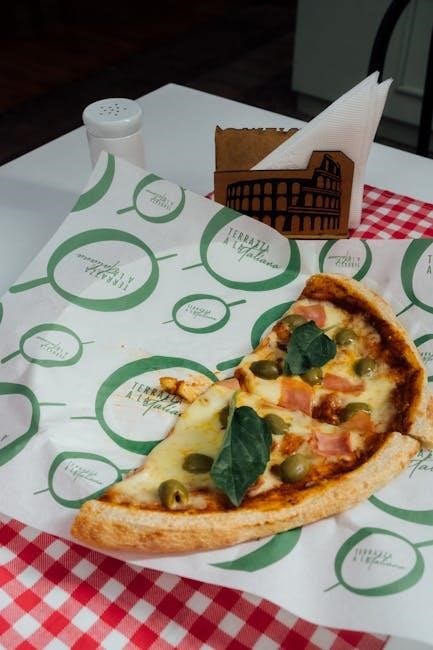
Feel free to personalize your Aldi thin crust pizza by adding extra toppings! This is a great way to customize the flavor to your liking. Popular choices include additional cheese – mozzarella, cheddar, or parmesan work well – and your favorite meats like pepperoni, sausage, or bacon. Vegetables such as sliced mushrooms, bell peppers, onions, or olives can also enhance the pizza’s taste and nutritional value.
Distribute the toppings evenly across the pizza’s surface, avoiding overloading any single area. Too many toppings can lead to a soggy crust or uneven cooking. A light and balanced approach is best. Consider the existing toppings on the pizza and choose additions that complement them. Once you’ve added your desired toppings, the pizza is ready for cooking!
Preheating the Cooking Appliance
Proper preheating is crucial for achieving a perfectly cooked Aldi thin crust pizza, regardless of your chosen method. For oven baking, preheat to the temperature specified on the pizza packaging – typically around 375°F (190°C) to 400°F (204°C). Allow sufficient time, usually 15-20 minutes, to ensure the oven reaches the correct temperature.
If using an air fryer, preheating is also recommended, often for 3-5 minutes at the designated temperature. This helps ensure even cooking and a crispy crust. When broiling, position the oven rack appropriately and preheat the broiler. Always monitor closely during broiling to prevent burning. A fully preheated appliance guarantees optimal results and consistent cooking performance for your Aldi pizza.
Post-Cooking Instructions & Tips
After cooking, check for doneness, allow a brief cooling period before slicing, and enjoy your Aldi thin crust pizza with preferred pairings!
Checking for Doneness
Determining when your Aldi thin crust pizza is perfectly cooked requires a multi-sensory approach. Begin by visually inspecting the crust; it should be golden brown and exhibit a delightful crispness around the edges. The cheese topping should be fully melted, bubbly, and potentially lightly browned in spots – a sign of deliciousness! Gently lift a corner of the pizza with a spatula to assess the underside of the crust; it should be firm and not soggy.
If using an oven, a simple test is to insert a thin knife or fork under the crust. If it slides easily and the crust feels rigid, it’s ready. For air fryer cooking, ensure the internal temperature reaches 165°F (74°C) for safe consumption. Remember, cooking times can vary based on your appliance, so these are guidelines. Trust your instincts and adjust accordingly for optimal results – a perfectly cooked Aldi pizza awaits!
Cooling Time Before Slicing
Resisting the urge to immediately slice into your freshly baked Aldi thin crust pizza is crucial for achieving clean cuts and preventing a molten mess. Allowing a brief cooling period – approximately 3 to 5 minutes – allows the cheese to set slightly and the structural integrity of the pizza to stabilize. This prevents the toppings from sliding off and ensures each slice holds its shape.
During this time, the internal heat distributes more evenly, resulting in a more consistent texture throughout. While it’s tempting to dive in right away, patience yields a far more enjoyable eating experience. A slightly cooled pizza is also safer to handle, minimizing the risk of burnt fingers. Trust us, a few minutes of waiting will elevate your pizza enjoyment significantly!
Serving Suggestions & Pairings
Elevate your Aldi thin crust pizza experience with thoughtful side dishes and beverage pairings. A crisp, refreshing salad – perhaps a simple garden salad with a vinaigrette dressing – provides a delightful contrast to the richness of the pizza. Steamed or roasted vegetables, like broccoli or green beans, offer a healthy and complementary addition. For a heartier meal, consider a side of garlic bread or breadsticks.
Beverage-wise, a classic pairing is a cold beer, particularly a light lager or pilsner. Alternatively, a sparkling Italian soda or a glass of chilled white wine can enhance the flavors. Don’t forget a sprinkle of red pepper flakes or a drizzle of garlic-infused oil for an extra kick! Enjoy your pizza night!

Troubleshooting Common Issues
Addressing pizza problems, solutions exist for soggy crusts, uneven cooking, and preventing burns – ensuring a perfectly enjoyable Aldi thin crust pizza experience every time.
Soggy Crust Solutions
Encountering a soggy crust with your Aldi thin crust pizza can be frustrating, but several techniques can remedy this common issue. Firstly, ensure the pizza is cooked at the recommended temperature for the specified duration, as undercooking is a primary cause. Utilizing a pizza stone or baking sheet directly on the oven rack, rather than a lower rack position, promotes better heat distribution and a crispier base.
Preheating the cooking appliance thoroughly is also crucial; a hot surface immediately begins to crisp the crust upon contact. If using an air fryer, avoid overcrowding, allowing for proper air circulation. For oven baking, briefly broiling the pizza during the final minute of cooking can add extra crispness, but requires careful monitoring to prevent burning. Consider lightly brushing the crust with olive oil before baking to create a moisture barrier. Finally, allowing the pizza to cool slightly on a wire rack after cooking helps prevent condensation and maintains crust integrity.
Unevenly Cooked Pizza Fixes
Addressing unevenly cooked areas on your Aldi thin crust pizza requires a bit of strategic adjustment. Rotating the pizza halfway through the cooking process is paramount, ensuring all sections receive equal exposure to the heat source. In an air fryer, this is especially important due to potential hot spots. If using an oven, confirm your oven heats evenly; an oven thermometer can be invaluable.
For stubborn unevenness, consider briefly increasing the cooking time, focusing on the undercooked areas. If certain toppings are burning while the crust remains pale, shielding those toppings with small pieces of aluminum foil can prevent further charring. Ensure the pizza isn’t overcrowded within the cooking appliance, as this restricts airflow and contributes to uneven cooking. Finally, if using a baking sheet, avoid using parchment paper, as it can sometimes hinder direct heat transfer.
Burnt Pizza Prevention
Preventing a burnt Aldi thin crust pizza hinges on careful monitoring and temperature control. When broiling, maintain a safe distance between the pizza and the broiler element, and never leave it unattended. Regularly check the pizza’s progress, as broilers heat rapidly. For oven baking, slightly reducing the recommended temperature and extending the cooking time can yield a more evenly cooked, less-burnt result.
In an air fryer, lower temperature settings and shorter durations are crucial. Shielding the crust’s edges with foil can prevent excessive browning. If you notice burning, immediately reduce the heat or cooking time. Remember, thin crusts cook quickly! Vigilance is key. A consistent check every few minutes will save your pizza from becoming overly charred and ensure a delicious outcome.